Homework 2 - Image Manipulation
Objectives
Introduction
This homework is designed to help prepare you for Project 1. As part of the homework, you will be implementing some of the functionality you will need for project that you can use when building the Project 1 program.
In this homework we will look at functions to flip images vertically as well as adding borders to images. Whereas the functions you wrote in Lab 4 just modified the individual pixels in an image and allowed to you to just treat each pixel as an individual object, the functions in this homework require you to think about the position of the pixels in the image and how that relates to the image as a whole object.
All of your code should be submitted in a file named homework2.py. You can get the autograder sample files and test by downloading hw02.zip.
Part 1 - Flipping an Image
Task 1 - Setup
Start by creating a new file called homework2.py
In this file add the following lines:
if __name__ == "__main__":
    pass
The functions you write will go above this line. We'll refer to the area after the if statement (in place of the pass statement) as the "main code block." It could just be a single function call (to a function named main() or run() or something similar) or be a series of statements to execute. We'll often use it to write code to test your functions as we're working on them.
The if statement checks to see if you are running the code as a program (e.g. when you invoke it with python homework2.py verses when you import the file as a library by writing import homework2 at the top of another script). The code after the if statement only executes when you run the code as a program. You'll be seeing and using this a lot througout this course so you should just get in the habit of adding those lines to any file you create.
Finally at the top of your file, import the Image class from the byuimage library just like you did in Lab 4.
Task 2 - Flip the Image
In this task you will write a function that takes an original image like this:
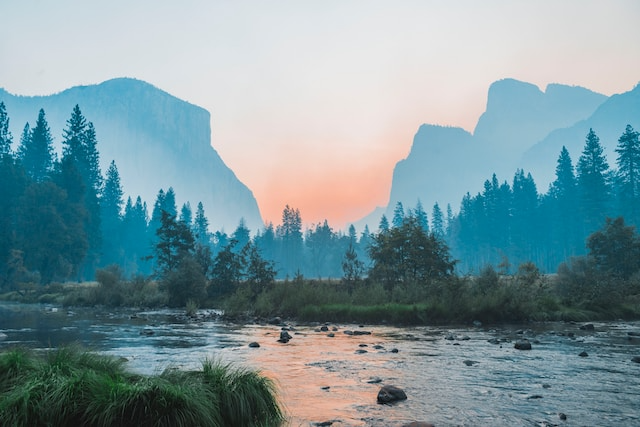
and flips it vertically so it looks like this:
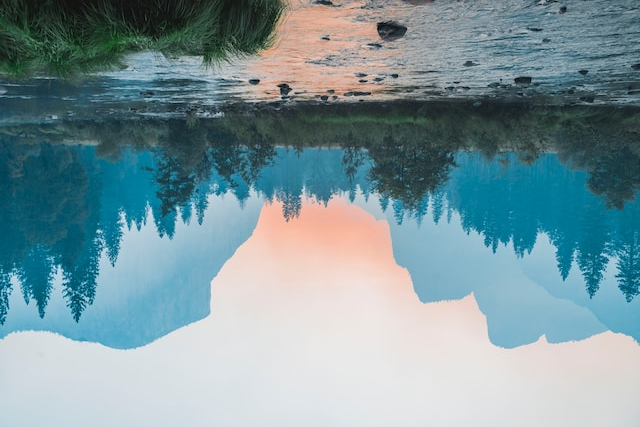
In homework2.py file create a flipped() function. As its argument it should take a filename to load the image from so the function declaration should look like this:
def flipped(filename):You already know how to read in an image (from Lab 4) so add that code to your function. Now we need to create the flipped image. There are two parts to this process. First you need to create a new image the same size as the original image. Then you need loop over all the pixels in the original image and copy them to the correct position in the new image. Finally, your function should return the flipped image.
To create a new image, use the Image.blank() method to create an empty image using the height and width attributes of the image you read in from the file.
When copying the pixels, remember that you can loop over the x and y dimensions with something like:
for y in range(0, <image height>):
   for x in range(0, <image width>):
      ## code to manipulate the pixel
and that the horizontal position of the pixel won't change but its vertical position will. If you are copying from position (x, y), then the pixel should be moving to (x, <image height> - y - 1). You can access individual pixels of an image by their position with the .get_pixel(x, y) function.
After you've finished writing your flipped() function add some code to your main code block that reads in a file, calls flipped() and displays the result. Look at the output image and make sure it is correct. Are there any white lines at the top or bottom? If so, you probably have your indexing off in the flipped() function.
Part 2 - Borders
In this part of the homework, we'll create a function, make_borders() that will put a border of equal thickness all the way around an image. This function will take as input a filename containing an image to modify, the thickness of the border, and color values for the red, green, and blue channels in the border region.
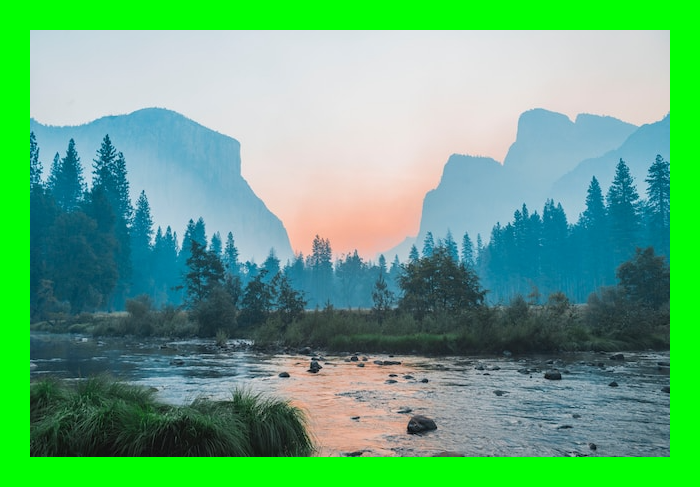
if you started with this image
and added a 30 pixel green (red = 0, green = 255, blue = 0) border, your function will return an image that looks like this
Task 1 - Create the function and read the image
Start by creating the make_borders() function. This function should have a declaration that looks like this:
def make_borders(filename, thickness, red, green, blue):Once the file is created, add code to read in the image specified by the filename parameter.
Task 2 - Make the new image and fill in the border color
Just like in Part 1, you need to create a new image object. Unlike the new image from Part 1, it won't be the exact same size as the original image but rather will be larger having thickness pixels added to each side of the image.
After you've created the new image, you'll need to fill in the border region with the color specified by the red, green, and blue parameter values. You could just loop over the entire image and set the pixels to that color, or if you wanted to be more efficient, you could just loop over the border region. How you implement it is up to you.
At this point you should probably add code to your main block to call this function and see that you are getting back a large image that has the border region filled in with the correct color.
Task 3 - Copy the original image
Now that the borders are all set up, it's time to copy the pixels from the original image into the new one. Just like in Task 2 of Part 1, you can loop over the pixels of the original image in a nested for loop. In this case, a pixel at position (x, y) in the original image will end up at (x + thickness, y + thickness) in the new image.
Once the original image is copied over, the function should return the new image.
If you already added code to call the function and display the result in your main code block, running it now should show the final product of the original image with the border added.
Turn in your work
You'll submit homework2.py on Canvas via Gradescope where it will be checked
via the auto grader. We will be testing your program using a variety of image of
different sizes in addition to the sample files we gave you, so make sure that
you haven't "hard coded" anything specific to your data.